How to screenshot a dropdown menu, tooltip or hover state on Mac
Some states only exist while the mouse is busy: an open menu, a tooltip, a button's hover colour, a dropdown halfway through a search. Press a shortcut and move the pointer to drag a selection, and the state is gone. Which way around it depends on what you are capturing.
An open menu: Shift-Command-4, then Space
Menus are the easy case, because macOS lets you take a screenshot while one is open.
- Open the menu.
- Press Shift-Command-4, then press and release Space. The pointer becomes a camera.
- Click the menu to capture just it, or press Shift-Command-4 and drag to capture the menu with the window around it.
Add Control to copy the screenshot to the clipboard instead of saving a file: Control-Shift-Command-4. That is the one to use if it is going straight into Claude Code or Codex.
A tooltip or hover state: use a timer
A tooltip or a hover colour has no window of its own and disappears as soon as the pointer moves to take the shot. You need the screenshot to happen while the pointer is where it should be.
With the built-in tool:
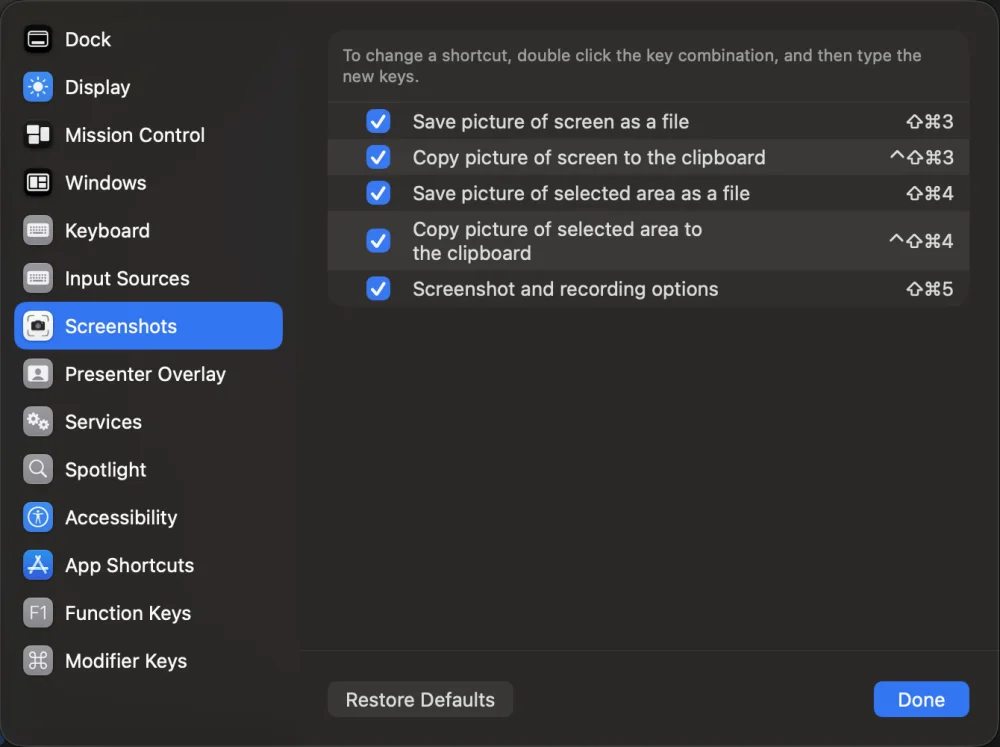
- Press Shift-Command-5 to open the Screenshot toolbar.
- Choose Options › Timer and pick 5 or 10 seconds.
- Choose an area or the whole screen, and click Capture.
- Move the pointer onto the element before the countdown ends, and hold still.
It works. It is slow for repeated shots: the toolbar has to be opened each time, and the shortest timer is five seconds.
With Bigshot's Capture Frame
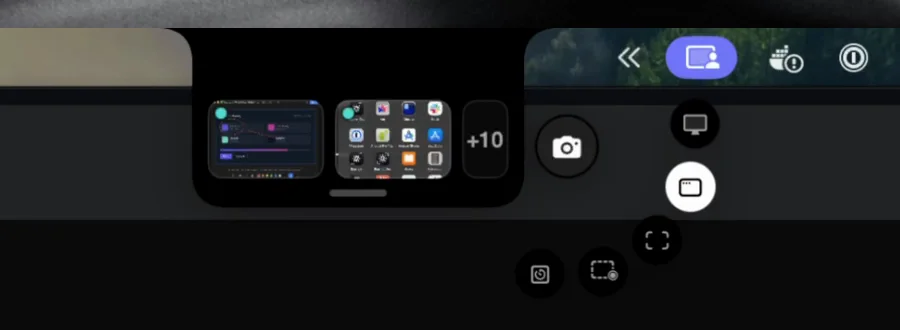
Bigshot's Capture Frame is made for this case. It puts a box on screen that you move and resize over the area, then takes the shot on a timer. The frame stays above other windows, so you can use the app underneath while it counts down, and it is left out of the image.
- Press ⌃⌥F to open Capture Frame.
- Drag its edges over the area, and set the timer to 3 or 5 seconds.
- Click the shutter, or press ⌃⌥F again.
- While the outline is red and counting down, open the menu or hover the element.
- The shot is taken without the frame in it.
The frame remembers its place, size and timer, so ⌃⌥F twice takes the same shot again, which is the quick way to capture before-and-after states of one component. Capture Frame is free.
Tips
- Three seconds is enough for a hover. Use five for a menu reached through a submenu.
- Keep the pointer still once the state shows. Some tooltips follow the pointer, and some hover states end the moment it moves.
- Capture a little around it. A tooltip on its own is hard to place; a bit of the control it belongs to says where it came from.
- Browser hover states without a timer: in Chrome or Safari's developer tools you can force an element's
:hoverstate, then capture normally.
Then send it to your agent
If the screenshot is for Claude Code or Codex, mark what matters first; see How to annotate a bug screenshot. Then paste it into Claude Code with Control-V, or drag it from the island.
More from the blog
How accurate is Code Lens? Benchmarks on 20 stacks, and EmbeddingGemma 2 on a Mac
Code Lens opens the line that puts on-screen text there for 82% of lines across 20 app stacks, against 34% for grep. What EmbeddingGemma 2 adds, how fast it runs on an M1 Pro, and where it doesn't help.
How to paste a screenshot into Claude Code on a Mac
Control-V, not Command-V. The four ways to get a screenshot into Claude Code on macOS, which one to use when, and how to make the image worth reading.
Save screenshots in your repo so Claude Code and Codex can find them
Instead of pasting screenshots into every conversation, keep them in the project with an index the agent reads. How it works, what the index holds, and how to keep it out of Git.